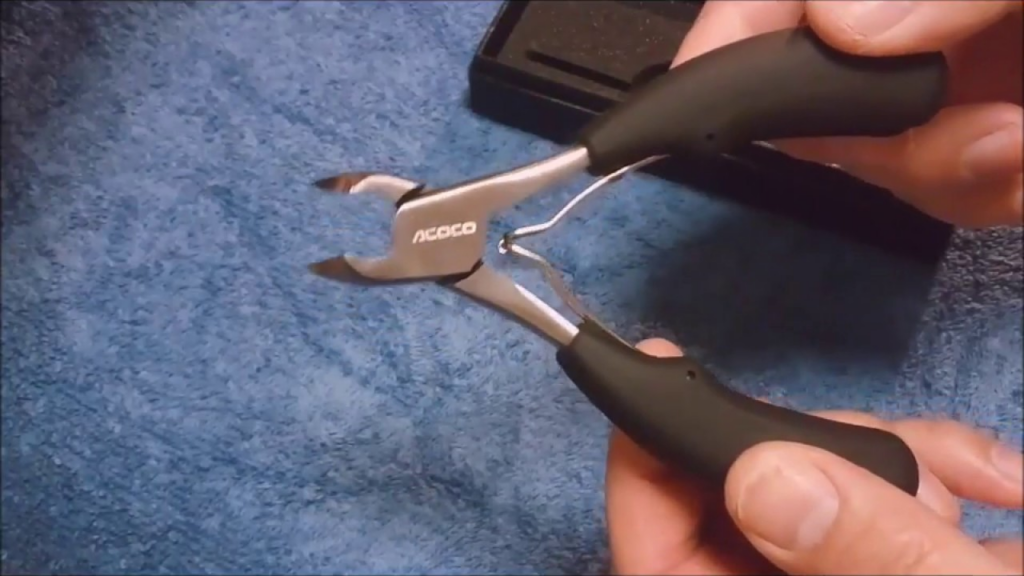
Keeping your nail clippers sterilized is essential for maintaining healthy nails and preventing the spread of fungus. Whether at home or in a professional setting, following proper hygiene practices protects you and others. In this guide, we’ll teach you a simple and effective step-by-step process to sterilize nail clippers and ensure they are free from fungi and bacteria.
Why Is Sterilizing Nail Clippers Important?
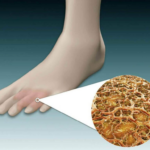
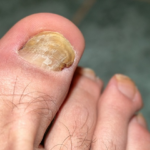
Nail clippers come into direct contact with skin and nails, making them a potential source of fungal transmission, such as nail fungus (onychomycosis). Regular sterilization helps to:
- Prevent fungal and bacterial infections.
- Avoid the spread of diseases in salons or among family members.
- Remove dirt and debris that can cause the tool to malfunction.
Step-by-Step Guide to Sterilizing Your Nail Clippers
1. Basic Cleaning: Remove Visible Debris
Before sterilizing, it’s crucial to remove dirt and nail residue.
- Step 1: Wash the clippers with warm water and mild soap.
- Step 2: Use a small brush (like an old toothbrush) to scrub hard-to-reach areas.
- Tip: Be sure to open the clippers to thoroughly clean the inner blade.
2. Disinfect with Alcohol or Hydrogen Peroxide
After cleaning, it’s time to kill germs.
- Materials Needed:
- 70% alcohol (ideal for disinfection) or 3% hydrogen peroxide.
- Cotton or a clean cloth.
- How to Do It:
- Soak the clippers in alcohol or hydrogen peroxide for 10-15 minutes.
- Alternatively, use soaked cotton to wipe down all surfaces carefully.
3. Sterilize with Heat
To eliminate stubborn fungi, heat is one of the most effective methods.
- Method 1: Hot Water
- Boil water in a pot.
- Submerge the clippers in boiling water for 10-15 minutes.
- Remove carefully and let them dry completely.
- Method 2: UV Sterilizer or Autoclave
- Ideal for professionals, these devices are designed for deep sterilization.
- Follow the manufacturer’s instructions for the best results.
4. Proper Storage
Once sterilized, proper storage is key to preventing recontamination.
- Store the clippers in a clean case or a sealed plastic bag.
- Avoid humid areas, which encourage fungal growth.
Extra Tips to Prevent Nail Fungus
In addition to sterilizing your clippers, adopt these practices to protect your nails:
- Avoid sharing nail clippers.
- Moisturize your nails regularly to prevent cracks that allow fungi to enter.
- Thoroughly dry your hands and feet after bathing.
- Wear cotton socks and breathable shoes to reduce moisture around your feet.
Conclusion
Sterilizing your nail clippers is a simple yet essential task for maintaining healthy nails and skin. By following these steps, you can eliminate fungi and other germs, ensuring safe and long-lasting use of your tool.
Did you find these tips helpful? Share this post to help others keep their nail clippers clean and fungus-free!
Extra Tip: Take Care of Your Nails and Skin with a 100% Natural Product
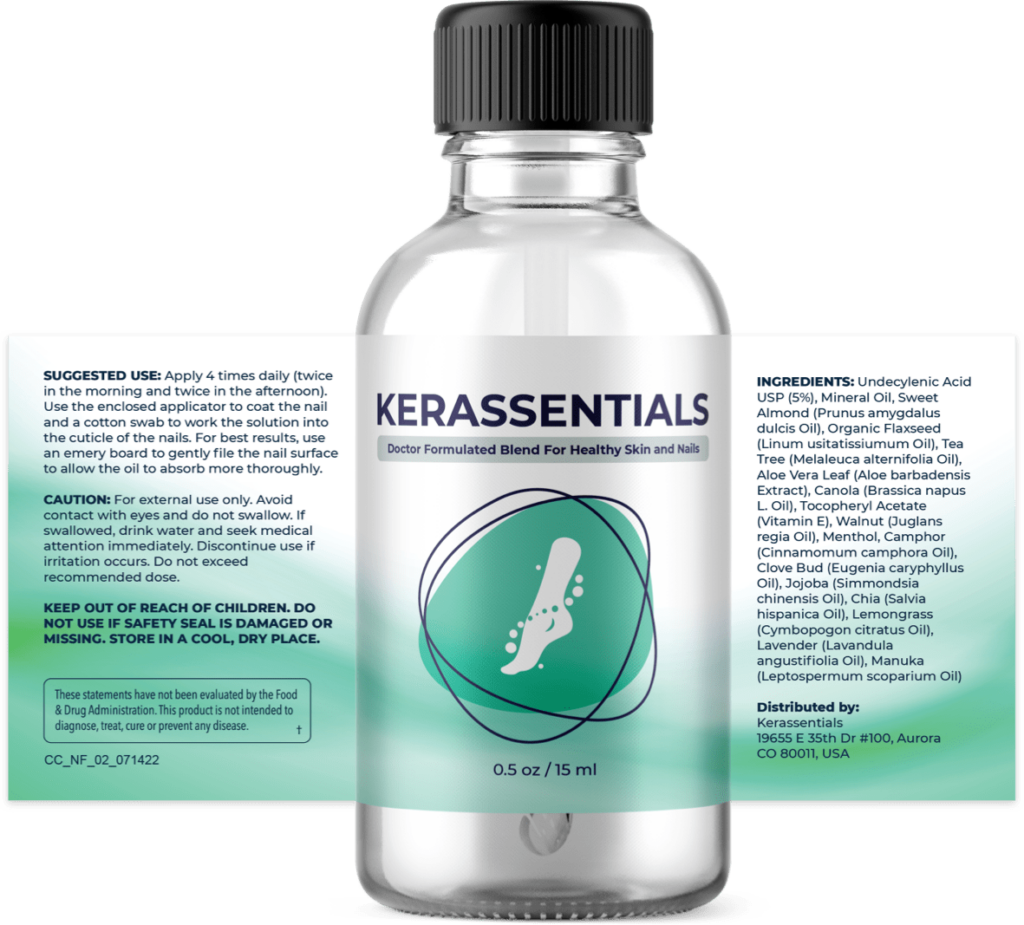
If you’re looking for a complete solution to prevent and fight fungus while promoting the health of your nails and skin, discover Kerassentials. This revolutionary treatment combines special oils that:
- Effectively Fight Fungus: The formula is designed to naturally target resistant fungi.
- Promote Healthy Nails and Skin: In addition to protecting against infections, it deeply nourishes, keeping your skin hydrated and your nails strong.
- Are 100% Natural: Free from harsh chemicals, it’s perfect for those seeking a safe and effective alternative.
Take care of yourself naturally and achieve flawless nails while fighting fungus once and for all!

Dr. Sarah Miller is widely recognized as an influential leader in the healthcare field, with a career marked by excellence, innovation, and dedication to improving human well-being. Combining exceptional academic knowledge, clinical experience, and a deep commitment to research, she has become a reference in her specialty.


